Managing Passkeys in Pera Wallet
This is a guide on how to set up Passkey support in Pera Wallet.
Initial Passkey Setup (Universal Wallets Only)
Getting started with passkeys in Pera Wallet is quick and easy. Just follow these steps:
Step 1: Open Settings in the Pera Wallet App
- Open the Pera Wallet app.
- Navigate to the More section.
- Tap the Settings gear icon in the upper-right corner.
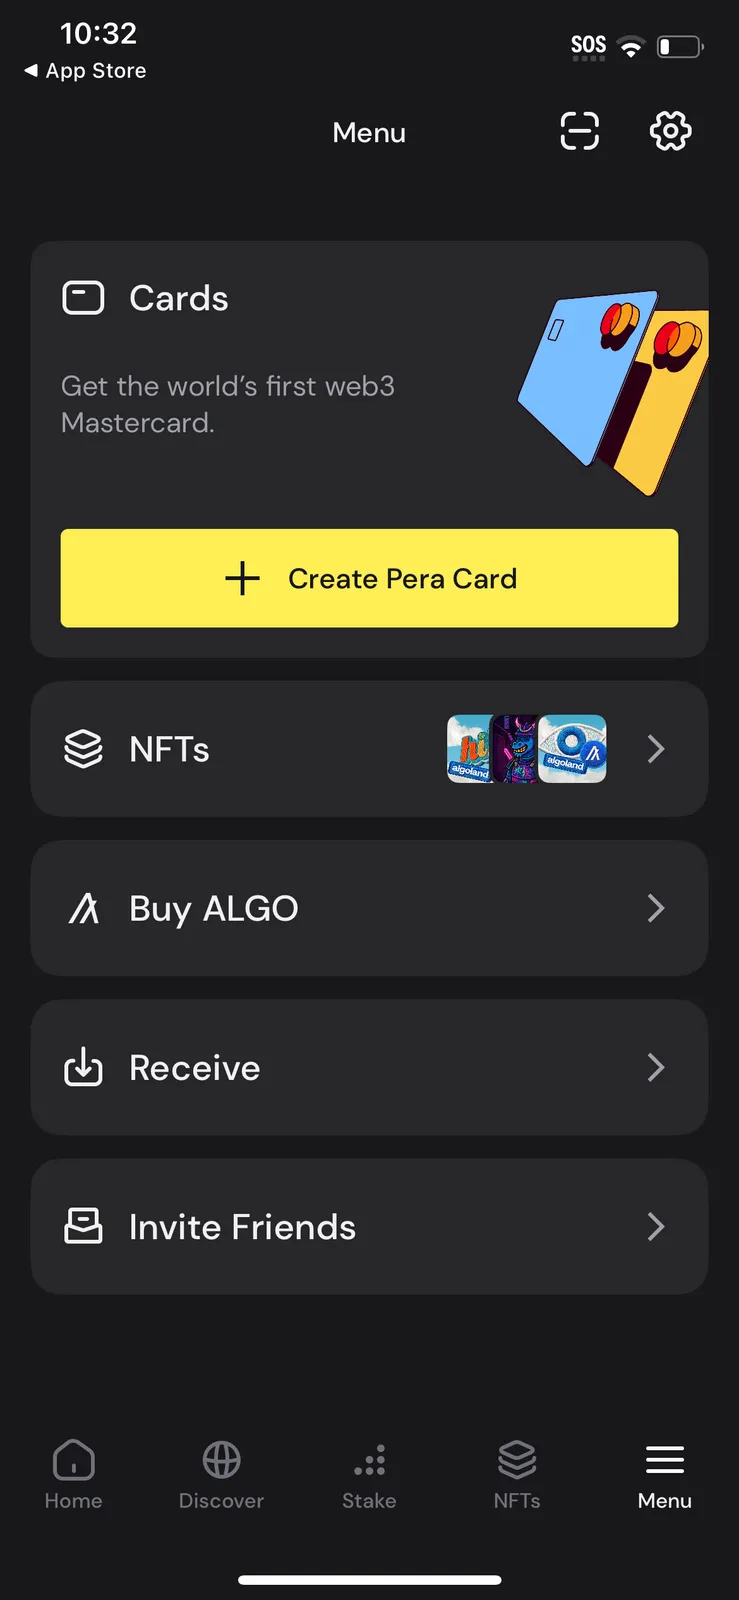
Step 2: Access the Passkeys Menu
In the Settings menu, tap on Passkeys.
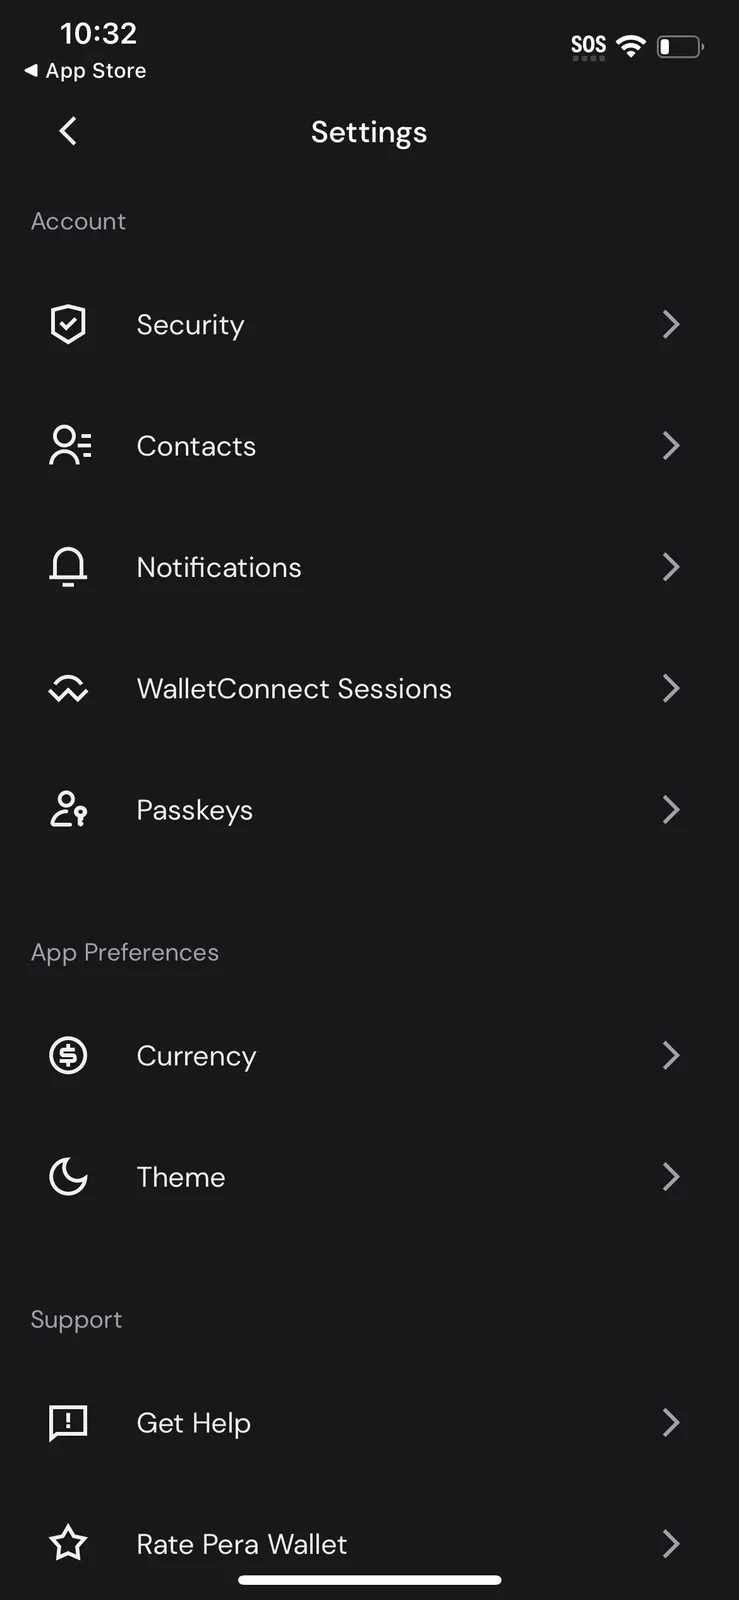
Step 3: Enable Passkeys on Your Device (If Needed)
If passkeys are not yet enabled on your device, you’ll need to turn them on before you can register:
- On iOS: Go to Settings > General > AutoFill & Passwords
- On Android: Go to Settings > Passwords, Passkeys & Accounts
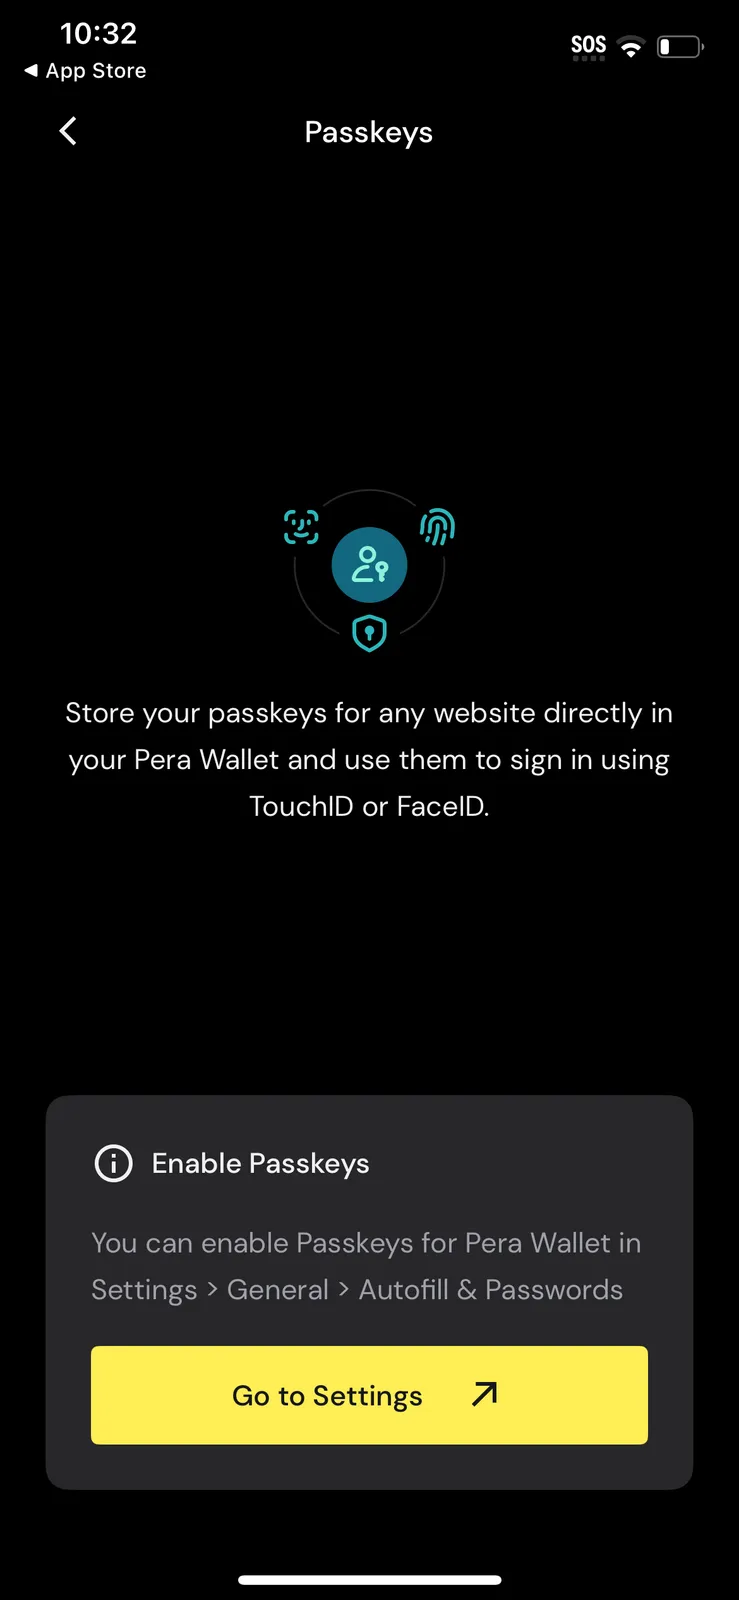
Step 4: Start Registering Passkeys
Once passkeys are enabled, return to the Pera Wallet app. You can now begin registering passkeys using your Universal Wallet.
Managing your Passkeys
Once you’ve completed your passkey setup, managing them is simple right from the Pera Wallet app.
View Your Stored Passkeys
- Open the Pera Wallet app.
- Go to the More section and tap the Settings gear in the upper-right corner.
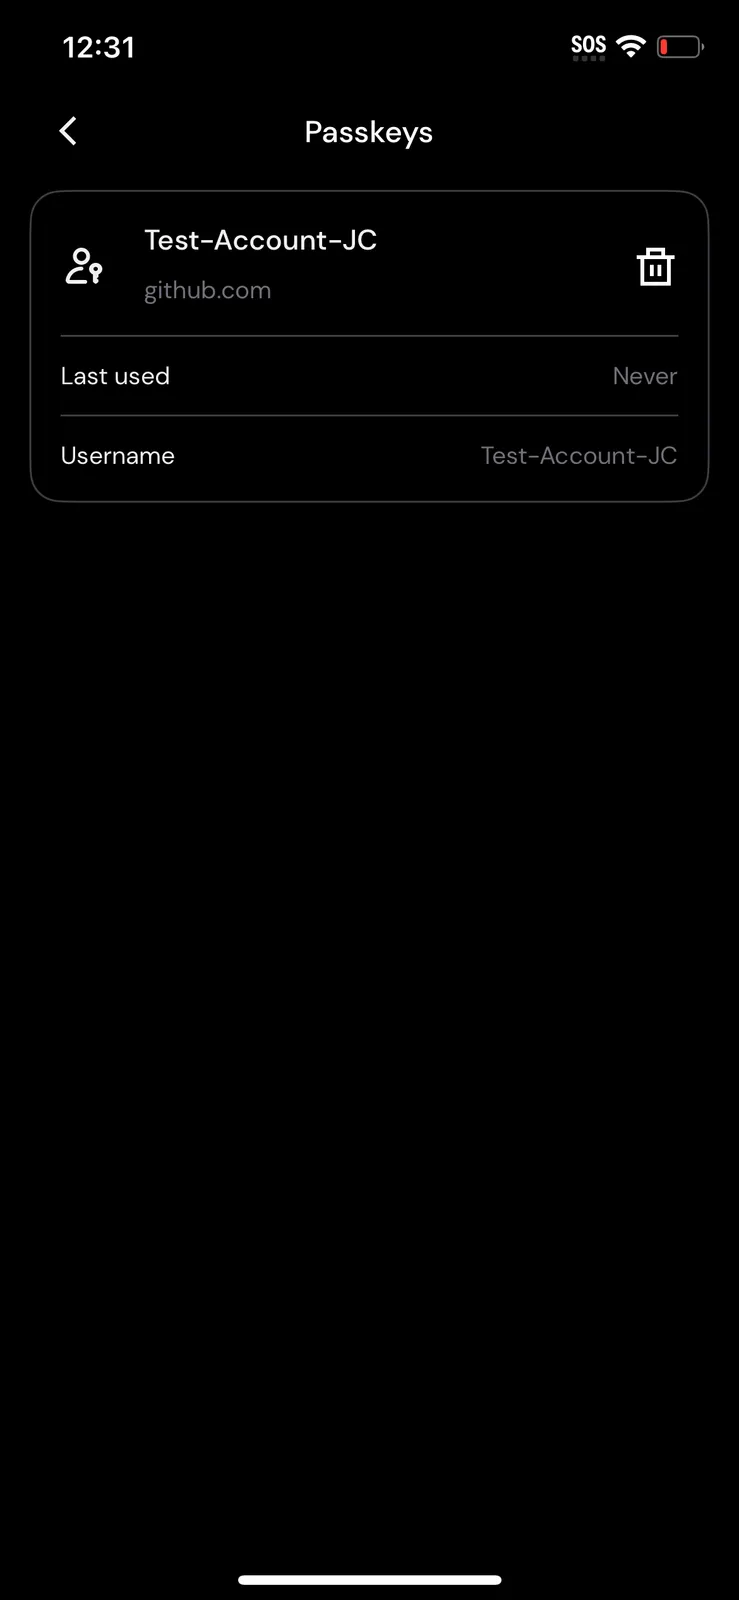
- Select Passkeys to view your registered passkeys.
Delete a Passkey
- From the Passkeys screen, locate the passkey you want to remove.
- Tap to delete it and confirm the action.
Deleting a passkey removes it from this device. If Cloud Backup is on, Pera asks whether to Keep it or Delete from Cloud Backup; deleting from the backup removes it permanently.
Passkeys derived from a Universal Wallet restore with the wallet or with your Cloud Backup. Older passkeys can’t be restored from your recovery passphrase: Pera lists them under Recovery isn’t available. Remove each one and create it again on its site, but only while you can still sign in to that site another way.
Creating a Passkey
To add a passkey using Pera Wallet, follow these simple steps:
Step 1: Go to the Website
Navigate to the website or app where you’d like to add a passkey.
Step 2: Follow On-Screen Instructions
Begin the passkey setup process by following the instructions provided on that website. You may need to select other device and use the provided QR Code if you’re on desktop. You can follow our example below for further instructions.
Step 3: Choose Your Passkey Provider
When prompted to select a passkey provider, choose Pera Wallet.
Step 4: Complete the Setup
Follow any additional prompts to complete the connection. Once selected, Pera Wallet will securely generate and store your passkey.
How to Create a Passkey from Your Desktop with Pera Wallet
Want to create a passkey from your desktop and store it in Pera Wallet? Here’s how to do it using https://webauthn.io/.
Step 1: Start the Passkey Session
- On your desktop browser, go to www.webauthn.io
- Enter a name for your passkey (e.g. “My Pera Wallet Passkey”)
- Click Register
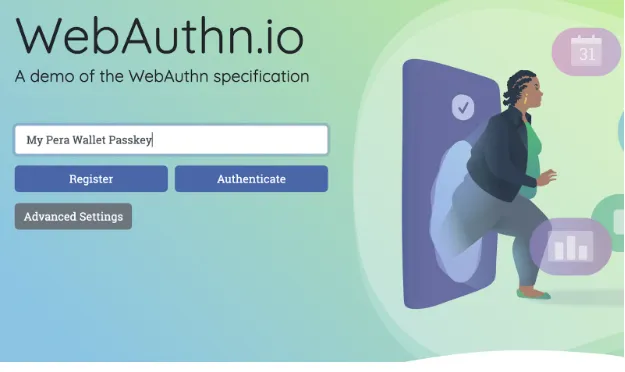
Step 2: Scan the QR Code with Your Mobile Device
Note: You may be prompted by your browser or mobile device to add requested permissions
- Select Save Another Way
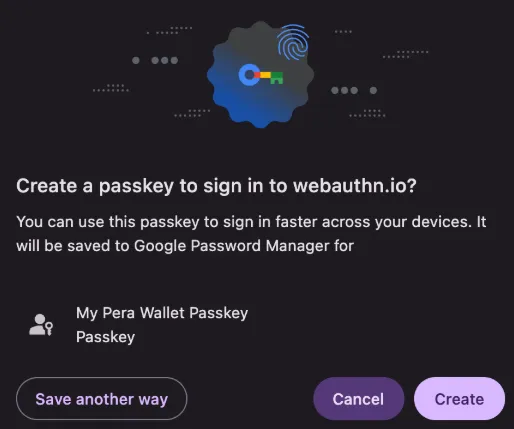
- Select Use a phone, tablet, or security key
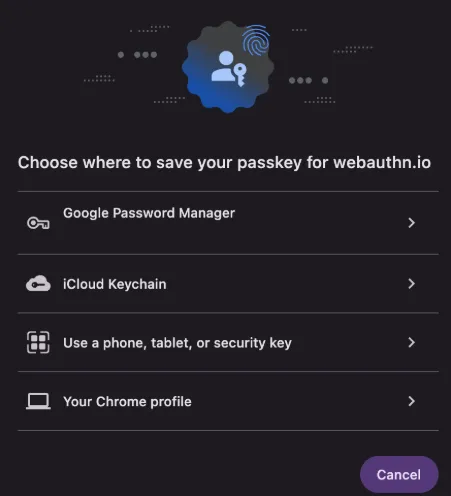
- A QR code will appear on your desktop screen
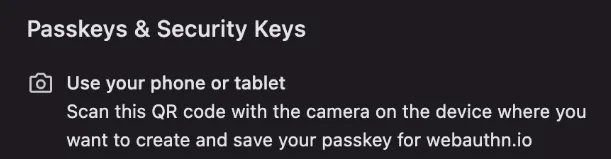
- Scan the QR code when prompted
- Select your Pera Account from the Passkey List
Liquid Auth protocol support is coming soon in the app. To learn more, visit https://liquidauth.com/.


 Download Now
 Get Extension